This Content is Sponsored by

Hey there! You’ve found this article because you’re either looking into getting a chronical fermenter, or maybe you’ve just purchased one. If you just bought one, congratulations! If you’re on the fence, they’re great! Either way, there are a few things to know before you dive in.
First, a little about my journey with chronical fermentation. I started like most people with plastic carboys. From there, I moved to a 15-gallon Speidel tank, which I used for a very long time. After over 5 years with the Speidel tank, it was time to either buy a new one or upgrade. So, I started upgrading… After a few years of upgrades, I now have a 3-kettle brew stand capable of making 19 gallons of beer, and two Ss Brewtech fermenters: a 17-gallon BME 2.0 and a 17-gallon Unitank 2.0.
Now, back to you. The first thing I tell everyone is to make sure you save your money and buy something you really want, not something you can retrofit into something else. The same goes for chronical fermenters—they’re great, but there are a lot of little things that make them even better.
Cooling
First things first: cooling. You can use a cooler filled with ice and pumps, a makeshift window AC unit turned into a glycol chiller, or you can buy a glycol chiller. After I broke my first AC unit, I decided to just buy a glycol chiller. Whether you use a window AC unit or a glycol chiller, you have to use a glycol mixture, or the liquid in your unit will freeze. I use a mixture of 1 gallon of glycol to 2 gallons of distilled water. You’ll want to use 100% food-grade propylene glycol, and this mixture needs to be replaced every 1-2 years. I keep a small piece of masking tape with the mixture ratio and the date it was last changed inside the lid of my glycol chiller—just one less thing you’ll need to remember. Also, when you’re not actively fermenting beer, DO NOT TURN YOUR GLYCOL CHILLER OFF. Just let it run between batches. If you turn it off, the mixture inside will get nasty, and you’ll have to change it out more frequently.
Choosing the Right Glycol Chiller
Last but not least, make sure the glycol chiller you choose is big enough for what you plan to use it for. Even if you only have one fermenter now, chances are you’ll want another one someday, so get a glycol chiller that can handle whatever you might throw at it in the future. You don’t want to add fermenters or brite tanks down the road and also need a slightly bigger glycol chiller.
The Chronical Fermenter
Onto the chronical fermenter itself: First things first, make sure it’s the right size. Too big, and the coil won’t properly cool the wort; too small, and you’ll have a mess on your hands. Either your wort won’t fit, or when you start fermenting, you’ll blow yeast into your blow-off bucket, or when you pitch your starter, you’ll overfill the fermenter. If you make multiple batch sizes like I do, get something that can accommodate that. The fermenters I have can ferment a minimum size of 10 gallons and a maximum of 17 gallons.
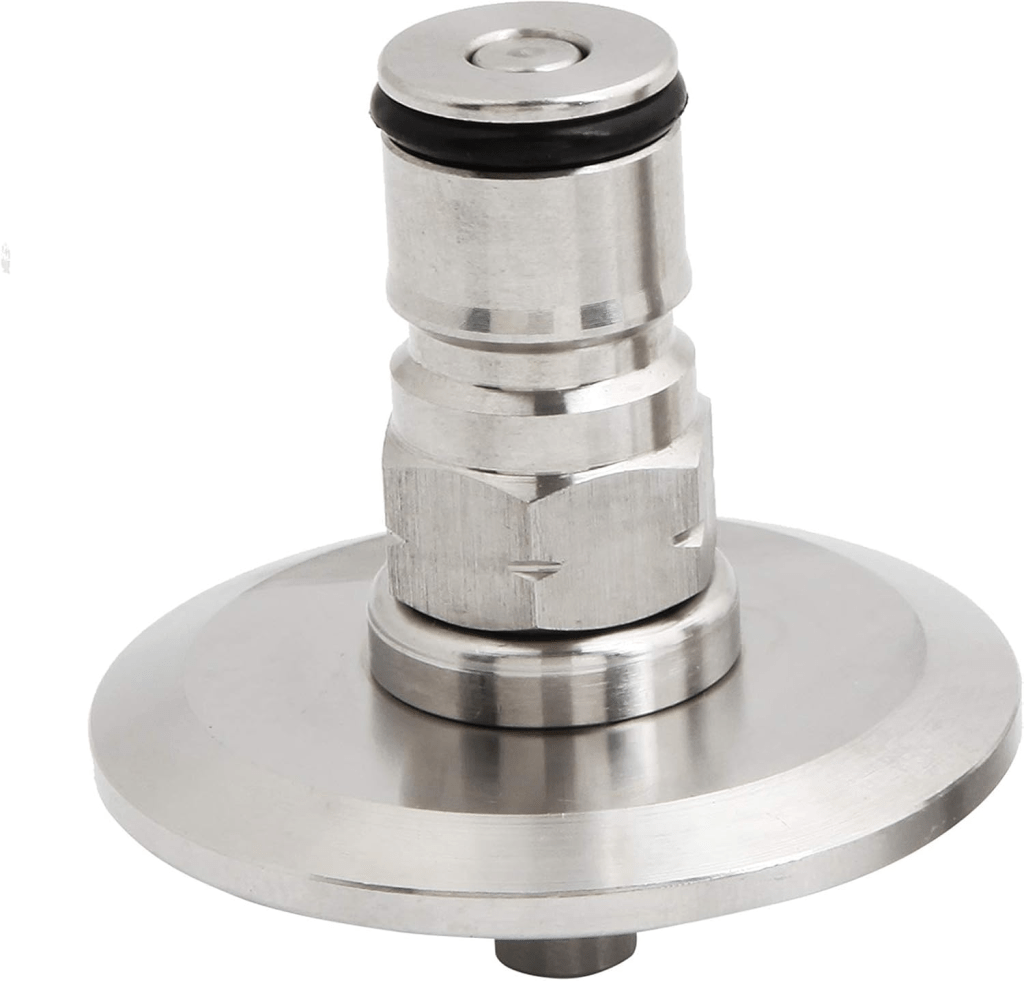
Now that you’ve picked out your chronical fermenter, it’s time to set it up. We’ve all drilled holes in boil kettles to add bulkheads and valves, so don’t be afraid to drill a hole in your fermenter—unless it’s jacketed, in which case you can’t drill a hole in it. Why drill a hole? To set it up for your liking. I drilled a hole into my BME fermenters to add oxygen ports with ball lock connectors so I can quickly and easily add pure oxygen before I pitch the yeast. With all the TC fittings out there, you can add just about anything you can think of to these fermenters. But before you use yours, there are a few things to consider: How are you going to get the beer out? How will you purge CO2 after dry hopping? How will you rouse the dry hops in a heavily dry-hopped hazy? How do you stop your chronical from sucking sanitizer into itself while cold crashing? These are all the little things you have to figure out now that you’ve got this new tool.
Transferring Beer
First things first: Let’s get that beer out! After you’ve cold crashed, added finings (if you use them), and dumped some trub so you don’t transfer it into your keg, it’s time to transfer. You can transfer off the bottom butterfly valve, but I highly recommend transferring off the racking arm. It’s clearer, as there might still be some hop and yeast matter in the very bottom, and going off the racking arm won’t immediately clog your filter if you use one.
Now that you’re ready, the only way to properly transfer without ruining your beer is with pressure.
Option 1: You hook a CO2 tank to your blow-off valve and add pressure that way, forcing the beer out.
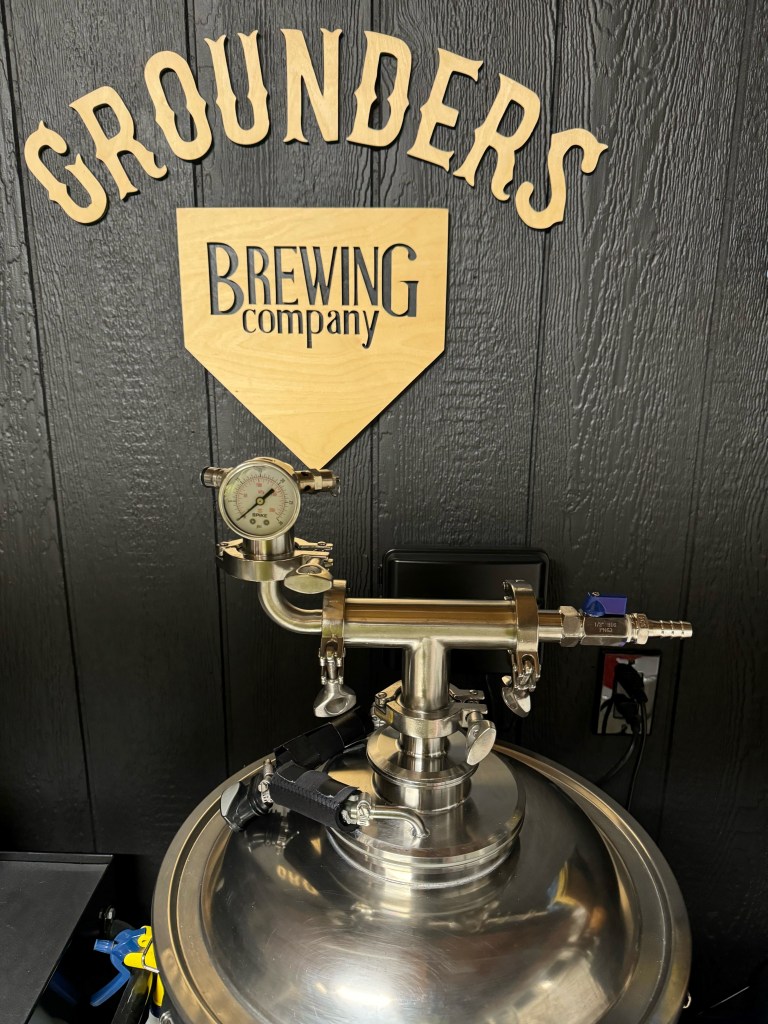
Option 2: You build a manifold for the top, which is better in the long run and allows you to do more things. Some people even have a sight glass on top that lets you CO2 purge your dry hops before adding them. I didn’t go that far with mine, but it still gets the job done.
I incorporated the Spike gas manifold on the left; it comes with a ball lock for adding CO2 to purge after dry hopping or for pressure transfer. It also has a pressure release valve, but on the BME fermenters, the lid will lift up a little bit before you reach pressure, so that feature isn’t as crucial. On the right is my blow-off valve with a shutoff. If you’d like to see it in use, check out @groundersbrewingco.
Preventing Contamination
One thing I didn’t know when I purchased my fermenter is that they’re capable of sucking sanitizer solution from the blow-off bucket back into the fermenter during cold crashing. I personally ruined an entire batch of beer because of this. Don’t be like me! It was a beer for a golf tournament—luckily, I had time to remake the batch, but that was stressful. To prevent this, I made sure to add a blow-off valve with a shutoff. When you cold crash, the liquid shrinks, causing a vacuum effect inside the fermenter, which can suck sanitizer into the fermenter. So, now when I cold crash, I shut the blow-off valve and burp the fermenter twice a day to release excess pressure.
Rousing Dry Hops
Rousing dry hops is probably one of the easiest things to do, as long as you use enough pressure. If you don’t, the weight of the wort will push back into your CO2 line, and you’ll have to take it apart to clean it. I attach a 1.5” TC ball lock adapter to the bottom butterfly valve and rouse with 8-10 psi. There’s no set time for this, and you can do it as many times as you deem necessary. You don’t want to second-guess your hop utilization.
Cold Crashing Tips
Helpful tip: During cold crashing, don’t be surprised if your beer doesn’t get colder than 38°F. To make it easier on the equipment, I recommend dropping the temperature a few degrees at a time. I usually drop it 3-5 degrees every 12 hours (so 6-10°F a day) until I reach the crashing temperature. But keep in mind that unless you live in a colder climate, don’t be shocked if you can’t get it below 38°F.
Thanks for reading!
Justin, Grounder’s Brewing Co.
Discover more from MASHOUT MAGAZINE
Subscribe to get the latest posts sent to your email.
