Ss Brewtech released their new Brite Tank 2.0 during their Black Friday Sale last year, with a shipping window of December 2024. If you know me on a homebrew level you know that I am an Ss fan boy. They were the first company I was wow’ed by when it came to Homebrewing. I thought how cool would it be to own that brand. Fast forward almost 4 years later and I have quite the Ss arsenal. Ss Brewtech was kind enough to send me out one of their new brite tanks to play around with.
As someone who loves lager beers, a Brite Tank was definitely on my list of equipment I just had to have. Being someone who not only enjoys drinking delicious lager beer, I enjoy brewing delicious lager beer. One could make the argument to just use kegs, but after I got my glycol chiller I no longer had a ton of keg space after getting rid of one of my kegerators that I used as a fermentation chamber… but I did have the space for a new brite!
First, what is included? Everything you need to get started!
1.5” TC Butterfly Valve
1.5” TC Carb stone with 3/8” ball valve
1.5” TC Pro Sanitary Pressure Gauge
1.5” TC Pro Sanitary Sampling Valve
1.5” TC Thermowell
3” TC Pressure Relief Valve (PRV)
3” TC Combination Port (Dry Hop, CIP, and Cap Port)
Neoprene Insulation Jacket
Stainless Lower Shelf
Adjustable Feet – I bought some wheels to go with it!
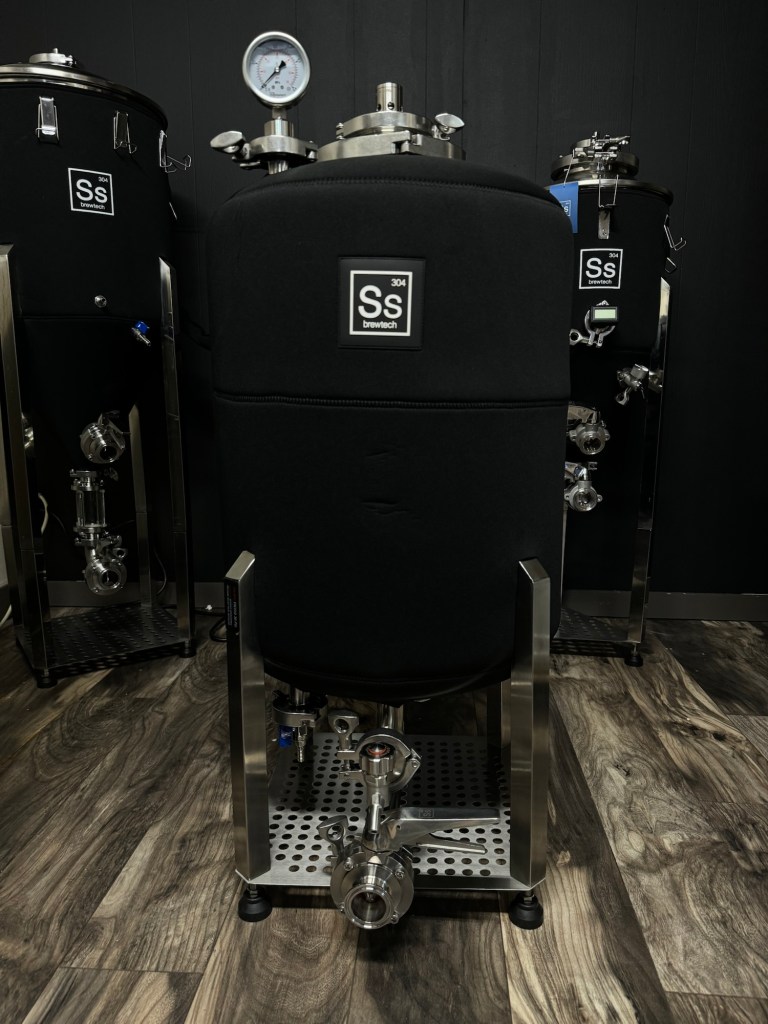
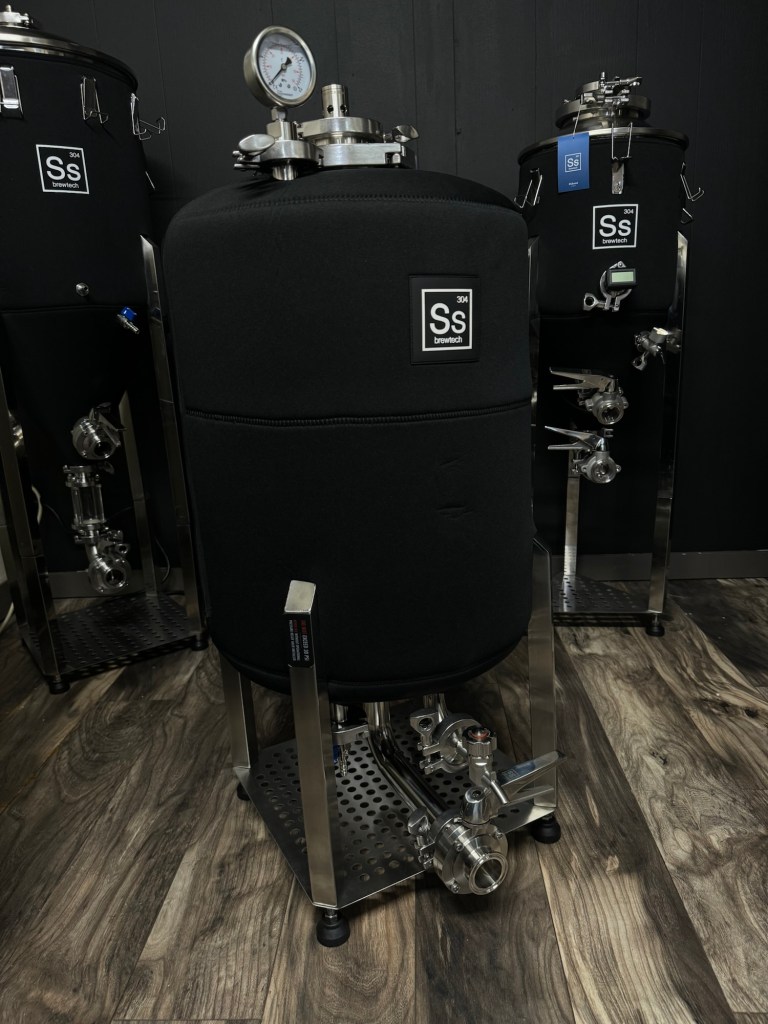
It also features fully welded TC flanges, and 15PSI operating pressure and is available in 1/2Bbl or 1Bbl, and features fully laser welded, professional grade jacketed cooling to improve cooling power, and efficiency. It has fully welded TC connections and pro features that you’re going to love.
One of the questions you might ask with the Brite Tank 2.0 is where is the smaller size for smaller batch homebrewers? The 1/2Bbl Brite jacket starts at 1.5 gallons from the bottom and all the way up to 10.5 gallons, and offers some flexibility on batch size. Just make sure you adjust for head space.
The Brite Tank is fairly easy to assemble. Out of the box, you slip on the neoprene jacket which comes with a zipper. It’s a nice upgrade from the traditional neoprene jackets that are on my Chronicals. Make things much easier! The neoprene also comes with this new beautiful rubber patch embroidered on the jacket. (Nice touch!)

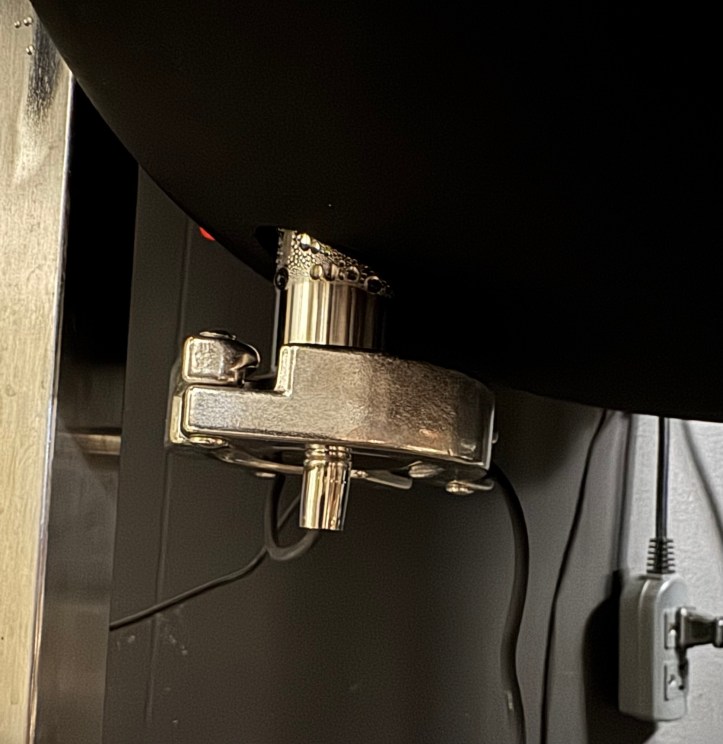
Assembling all the TC attachments is pretty self explanatory. The easiest way to attach the bottom TC accessories is to flip the Brite Tank upside down, and add them before adding the shelf, and feet. One of the cool features of the Brite Tank is the fact that the carb stone and the thermowell is on the bottom. Once everything is assembled it’s time to passivate! The passivation steps and how to is included, but you can always find the guide on the Ss website.
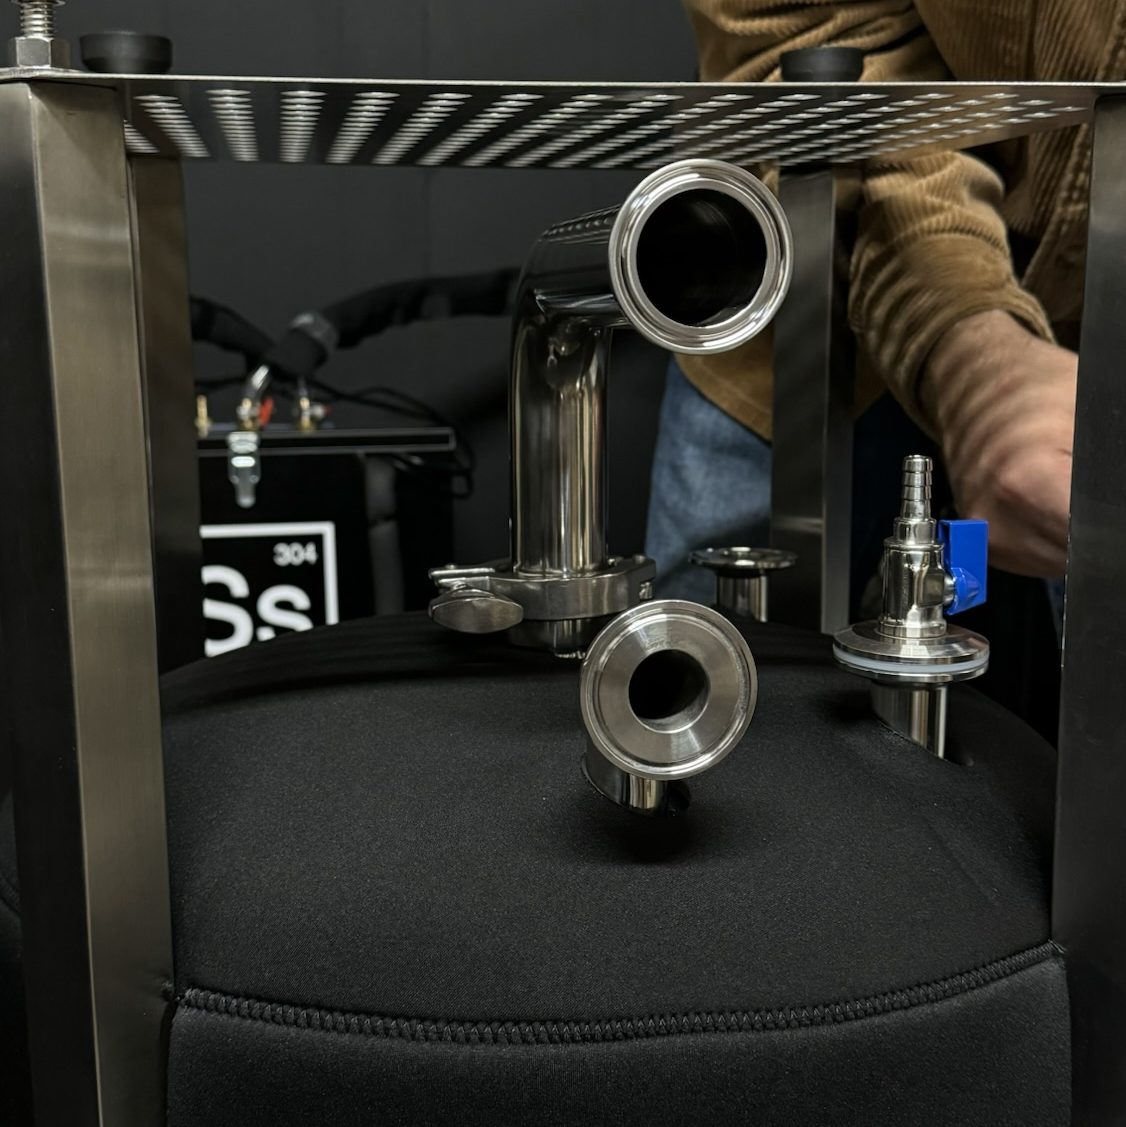
One thing to note, you are going to want to put some casters on or up on a table, like a Brew Cube. Especially if using a sample coil. Mine sits about a couple inches from the ground making it difficult to properly take a sample. After my Brite Tank is empty I do plan to upgrade it to the top of a Brew Cube.

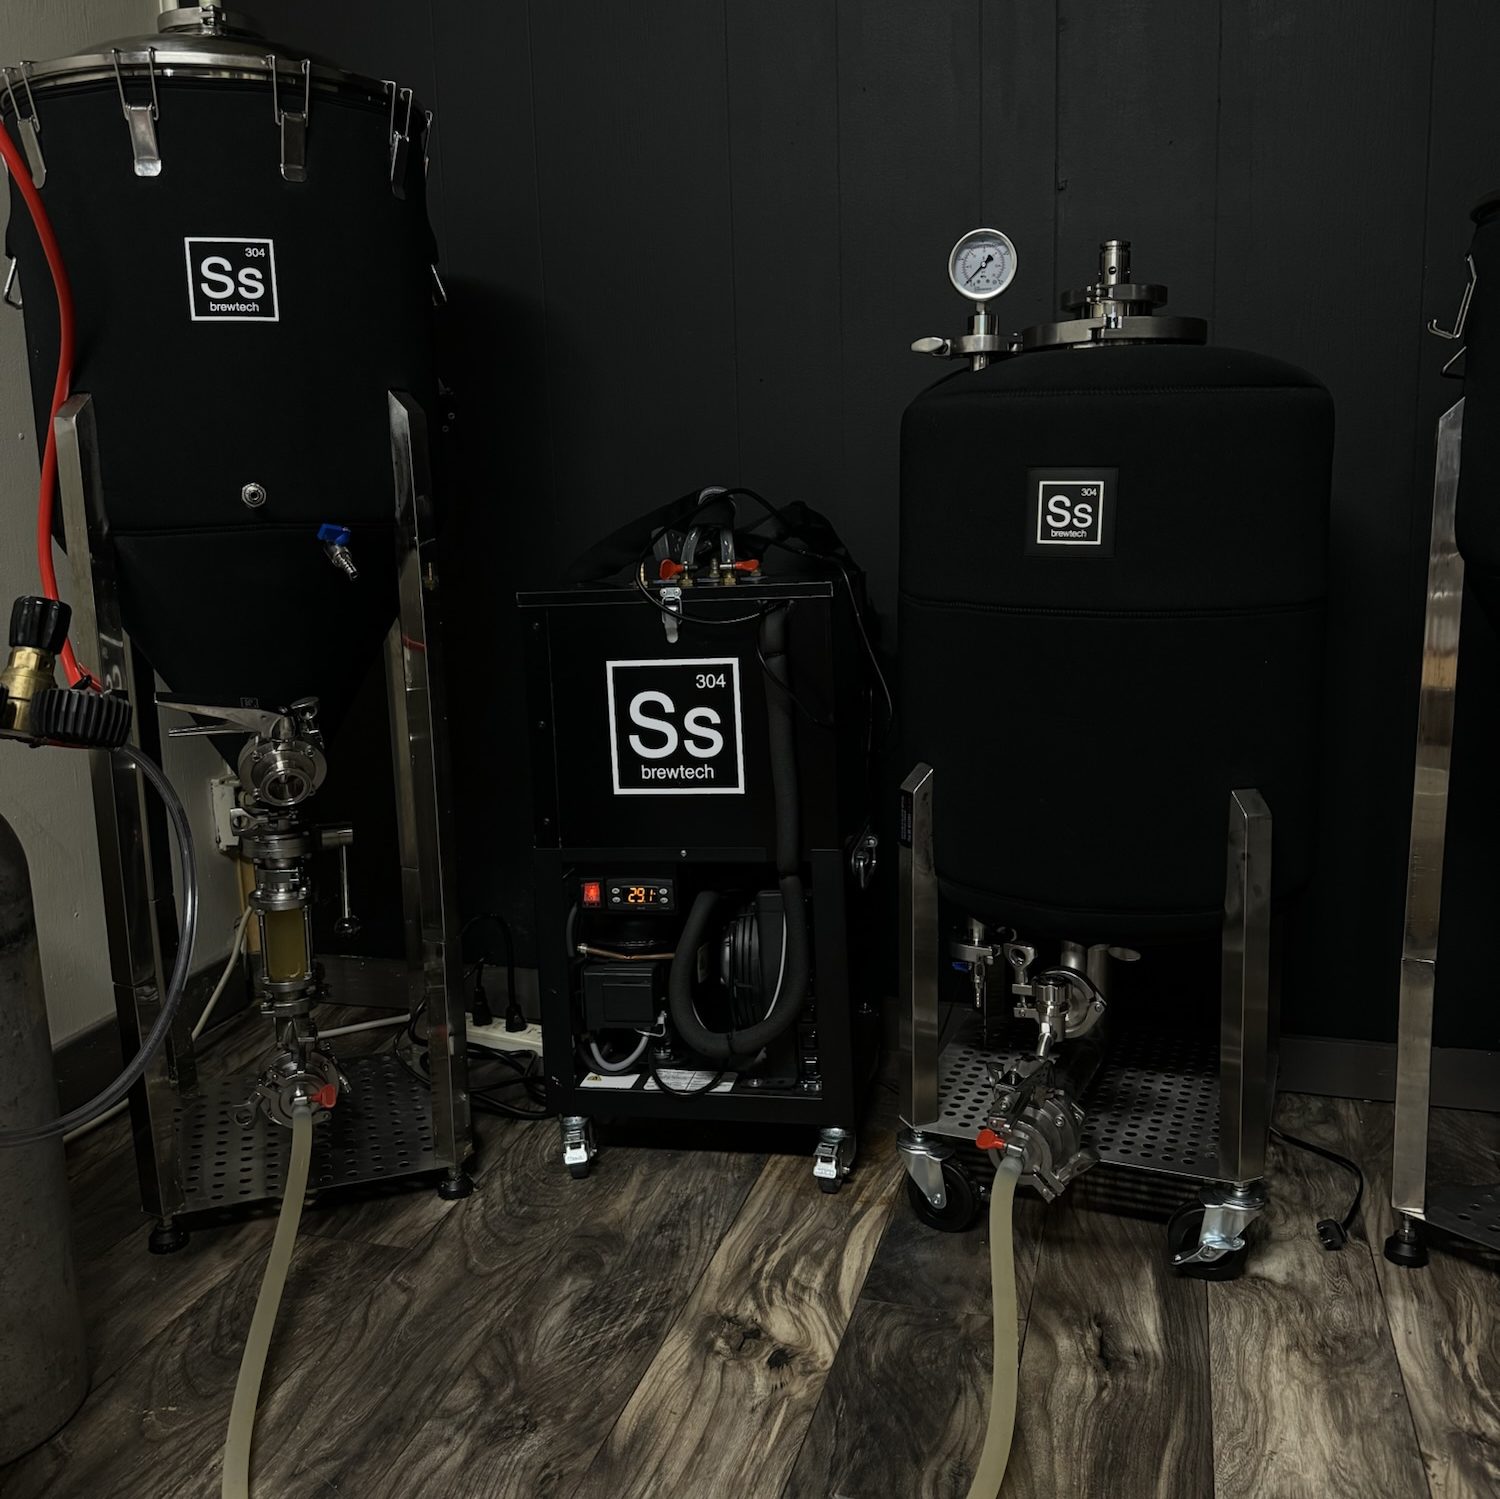
Once I was done passivating I did a CIP with some warm water and PBW, and then rinsed. From there I sanitized the tank using some Saniclean, and purged the tank of any oxygen. I spoke with the team at Ss and how they recommended I do that, and they mentioned to use the carb stone to flush the tank with co2 and vent it by leaving the PRV unclamped and offset slightly. You can also vent via the sample valve.
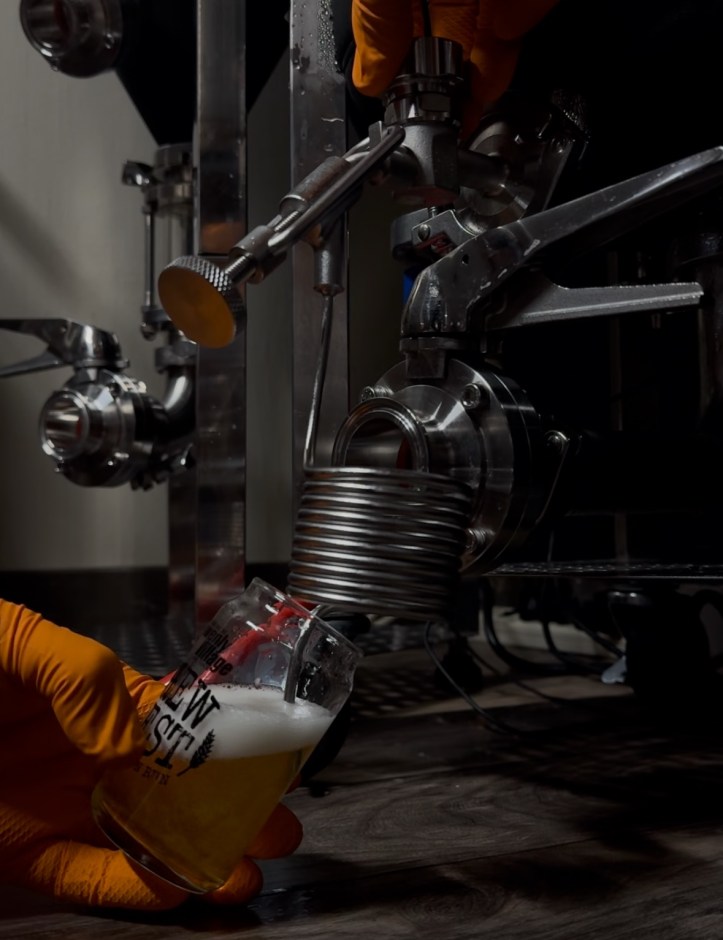
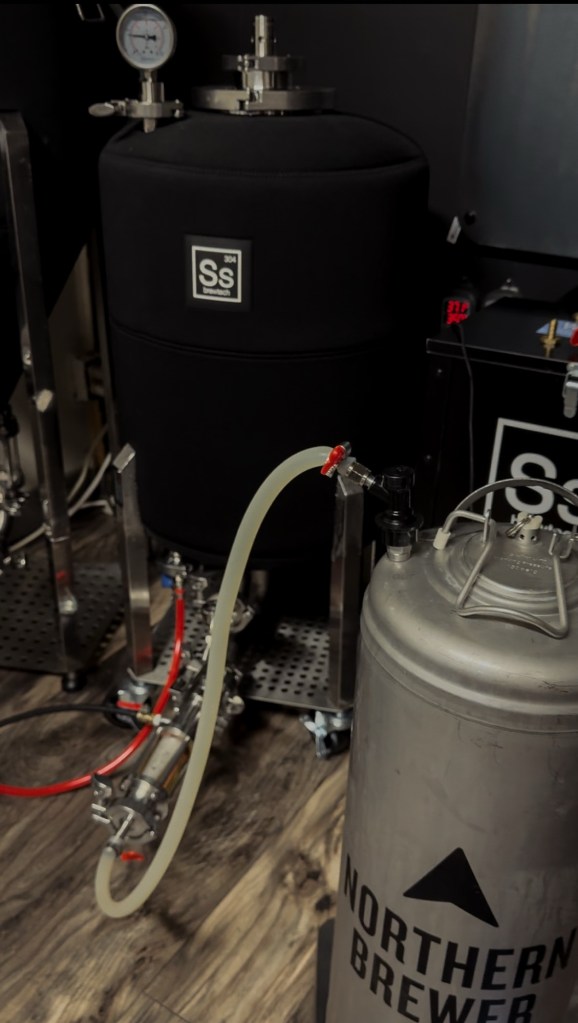
From there, it was time to use the tank! We transferred 15 gallons of my German Helles Exportbier from the Chronical to the Brite Tank. The transferring is relatively easy. If you are familiar with close transferring from the fermentor to the keg then the process is the same.
The hardest challenge was keeping my Chronical at optimal PSI as it is not rated for anything above 2PSI. Transferring was smooth and pretty quick. Being my first pressurized vessel that is not a keg, the PRV was a little tricky to get the hang of, but we got it figured out. I set it 10 PSI and left it for about a month, periodically taking samples every week and kept it at 36F.
After about 5 weeks, and needing to get my beer packaged up to send to some competitions it was time to keg some beer! Another very simple process if you are familiar with close transferring. This however was very new to me as I had never transferred carbonated beer from one vessel to another. A great learning experience.
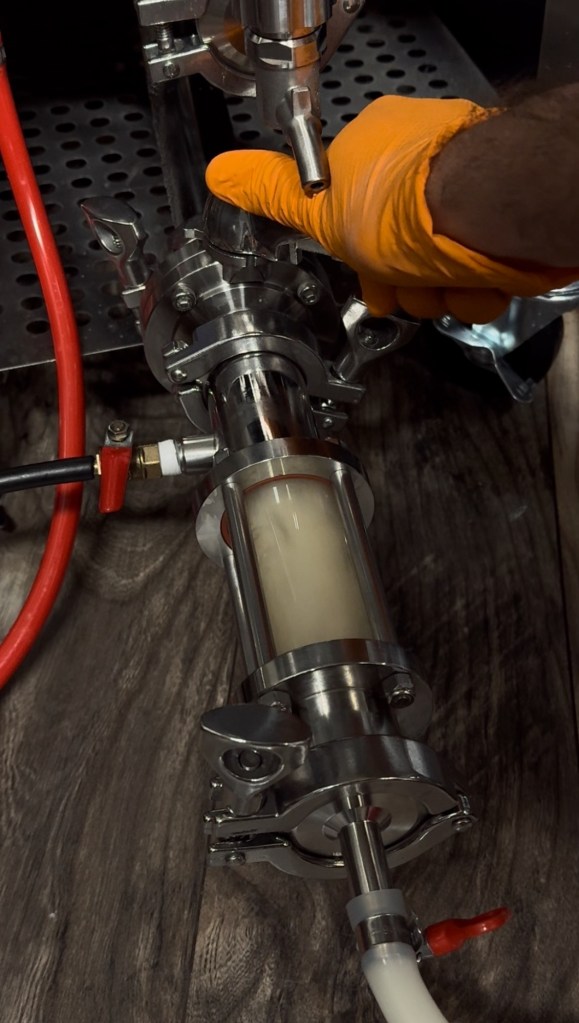
With the tank set to 10PSI, I adjusted my PRV on my keg to 9PSI and transferred. I anm fortunate to have a sight glass with a carb stone and am able to purge all lines and fittings of oxygen prior to transferring.
I’m extremely pleased with the Brite Tank 2.0. It’s clear that it was designed by people who truly understand the industry and have prioritized functionality. The setup is straightforward, and it includes all the necessary features to get started. It’s easy to use and produces clean, clear beer – a huge plus, especially since I’m currently tight on keg space. Having the ability to keep the brite tank full of beer is a real lifesaver.
While I didn’t have the first version of the Brite Tank, I do have fermentors with coils, and I can confidently say that a jacketed tank is the way to go. That said, I have very few minor complaints. The tank is already well-designed, so there’s not much to change at this point, but I’d be excited to see any improvements in a potential 3.0 version, if it ever comes to be.
I bought the quick disconnects for my glycol chiller, and it came with the neoprene wrap. Maybe I am just not properly wrapping my lines with the neoprene, but I do not like the distance between the in and out of the jacket on the Brite Tank. It leaves too much unwrapped tubing with the distance — at least in my case. So much so that I had to wrap each one separately to stop condensation from dripping onto the floor. I like the idea that the ports could have been closer together. I also am just the consumer, not the engineer that designed the tank, so there could be meaning behind the reasoning.
Originally I had an issue with the thermowell being on the bottom of the vessel. Sounds silly because when you think about it, all the ports being on the bottom is the best place for it. You don’t disrupt the flow of the jacket. The thermowell port is a tad big in comparison to my Inkbird probe. I had mentioned it to Ss and they had mentioned that upon measuring the FTSs Touch and Inkbird probes, the FTSs Touch is 6mm and the Inkbird is 5mm so it is a bit smaller. The FTSs also comes with a little silicone cap that helps hold the probe into place and that helps because thermowell is positioned vertically. So if I get an FTSs then my problems will be solved on that complaint, lol. (WiFi FTSs Touch when?) I was able to put the probe through a TC clamp loop and then up and into the thermowell and then snugged the probe cord snug and it stays no problem.
The final complaint that is more laughable than not because, who really cares… is that it doesn’t have handles. Which actually is beneficial to the neoprene, but I never know where to grab it, and how to move it. You’re probably thinking, “Why do you need to move it?” I don’t but if I need to it would be nice to not have to struggle to move it. It really is a pointless complaint, but the tank – empty – is actually pretty heady when fully assembled. I did put it on wheels before I filled it. Being able to roll it forward has been a big plus. Please note that this is not recommended by Ss as it can damage the legs if the floor is bumpy or uneven. You should never move a full vessel, be it a Unitank, Chronical or Brite. I made a couple messes in the brewery that needed me to move my vessels around slightly, and I assumed the risk. They also do not recommend leg extensions for the Brite Tanks due to the higher center of gravity.
If you’re in the market for a Brite Tank or have been considering owning one, I highly recommend making the leap. You won’t be disappointed – not only does it perform exceptionally well, but it also looks badass. Whether you’re brewing professionally small scale or just as a hobby, this tank will elevate your setup and help streamline your process. It’s a perfect blend of style, functionality, and durability that you won’t regret
investing in.
By Jordan V, Billy’s Tavern Homebrewing
Jordan is a California native. When he is not brewing he can be found drinking beer with friends, duck hunting, and getting lost in a good book or video game. When he is not out on an adventure with his wife, he can be found at home with his two lovable dogs. Stay up to date by following him on Instagram.

Discover more from MASHOUT MAGAZINE
Subscribe to get the latest posts sent to your email.
