
In my journey to brew the best New England-style IPAs, I’ve tweaked countless variables: adjusting the malt bill, water profile, dry hopping techniques, pH, and even changing hop suppliers. However, every time, I failed to create that ultra-soft, hop-saturated beer I was aiming for. There was always some sort of astringency (sometimes, but not always due to oxidation) combined with a similarly muddled hop flavor and aroma. It was okay-ish, but definitely nothing like something I would drink from a professional brewery.
Even though, at one point, it seemed impossible to brew the style of beer I enjoy drinking so much, I just couldn’t accept it. How can everybody else brew damn good hazy IPAs while I can’t? So instead of throwing in the towel, I kept researching and trying to find a solution.
The one factor that made the biggest impact for me was switching hop suppliers and starting to use the freshest hops possible. Previously, I had brewed with hops from improperly sealed bags or hops that were close to expiring. It may seem obvious, but I don’t think this point is emphasized often enough in books or articles.
The second factor that changed everything was dialing in my dry hopping technique. If you can get your hands on the freshest possible hops, that’s already a major improvement. But the other question is: how do you extract the maximum amount of aroma and flavor from those hops?
After extensive research into dry hop ratios, temperatures, and contact times, I finally found a technique that works best for my setup. Initially, I simply dry hopped my IPAs and let the hops sit in the beer for 48 hours without doing anything else. The result? A hoppy, slightly juicy beer, but definitely not saturated enough considering the amount of hops that went in.
That eventually led me to explore the concept of rousing the hops back into suspension using CO₂ from the bottom port of the fermenter. Now, be careful here. You can rouse as much as you want to speed up extraction, but there is a point of no return where you pick up excessive polyphenols and other undesirable compounds, resulting in excessive harshness in the final beer. In the recipe below, you can read about my detailed dry hopping technique that extracts the maximum amount of desirable compounds while maximizing hop saturation.
The third and final factor, which I won’t dive into too deeply here, is controlling pH throughout the process — from achieving the right mash pH to hitting the desired final beer pH after dry hopping. For hoppy beers, I always aim for a final pH between 4.2 and 4.4 for maximum juiciness and hop expression. To end up in that range, I adjust pH throughout the process while taking into account that dry hops will increase pH by a certain amount.
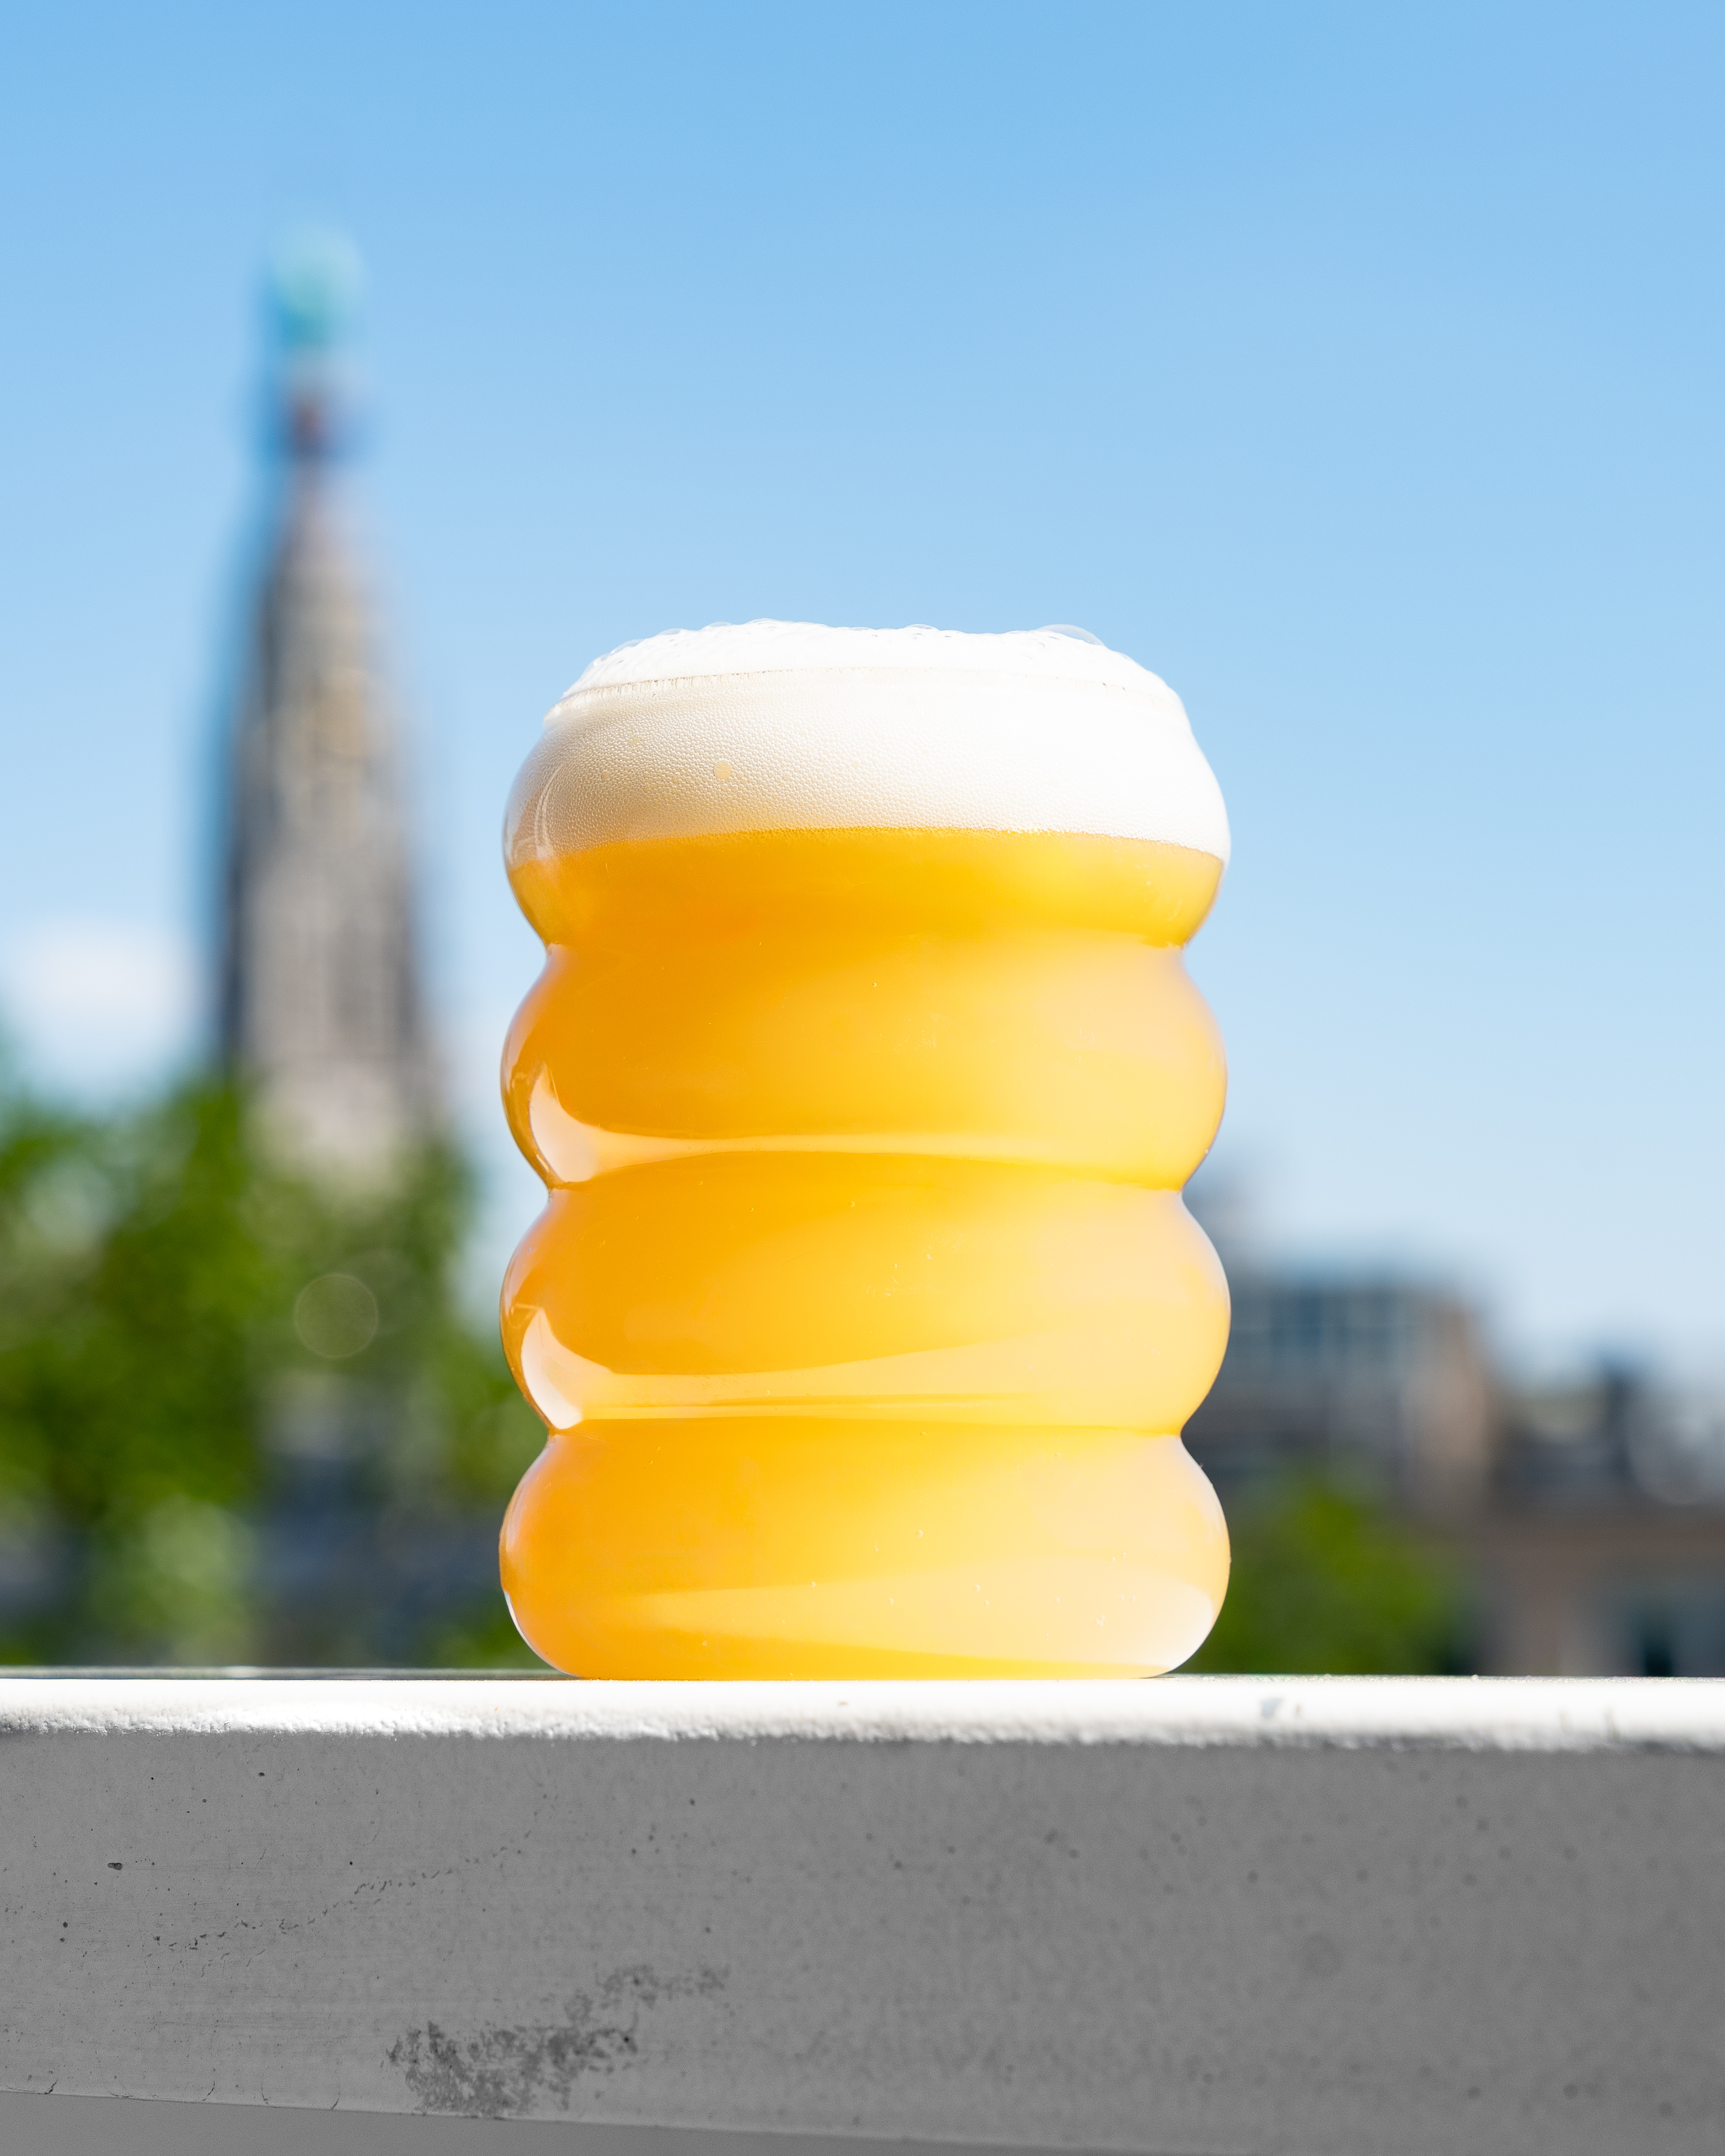
After brewing multiple iterations with the tweaks discussed above, I came up with a recipe that works and brings me close to a commercial example of a New England-style IPA with a pillowy-soft mouthfeel, stable haze, vibrant aromas, and an extremely juicy, saturated hop flavor profile.

Recipe
Batch size: 6.6 Gal / 25L
Brewhouse efficiency: 72%
Original gravity: 1.076
Final gravity: 1.016
IBU: 21
Color: 4 SRM (8.3 EBC)
ABV: 8.0%
Mash
Temperature – 156 °F / 69 °C – 60 min
Temperature – 169 ºF / 76 ºC – 10 min
Malts (18.95 lbs / 8.6 kg)
11 lbs / 5.0 kg (58.1%) — Extra Pale malt
4.4 lbs / 2.0 kg (23.3%) — Flaked Oats
1.85 lbs / 850 g (9.9%) — Weyermann Carapils
1.65 lbs / 750 g (8.7%) — Weyermann Pale Wheat Malt
Hops (1.32 lbs / 600 g)
5.3 oz / 150 g (18 IBU) — Citra 14.9% AA — Aroma — 20 min hopstand @ 169 °F
1 oz / 28 g (3 IBU) — Motueka Cryo 15.5% AA — Aroma — 20 min hopstand @ 169 °F
3.5 oz / 100 g — Alora 10% AA — Dry Hop — during active fermentation
5.3 oz / 150 g — Nectaron 13.9% AA — Dry Hop — 2 days
3.5 oz / 100 g — Alora 10% AA — Dry Hop — 2 days
1.75 oz / 50 g — Citra Cryo 23.1% AA — Dry Hop — 2 days
1 oz / 28 g — Motueka Cryo 23.1% AA — Dry Hop — 2 days
Dry hop technique
Always dry hop the beer without exposing it to oxygen. I use a dry hop kit that lets me dry hop completely oxygen-free. Once the dry hops are in, I let them settle and rehydrate for a few hours. After rehydrating, I rouse the hops from the bottom port of my fermenter with 10-15 psi for approximately 20 seconds to ensure they’re all back in suspension. I repeat this step once every 12 hours or close to 3-4 times within 48 hours contact time. I use a spunding valve to release the pressure from the fermenter to have a proper rouse and constant flow of CO₂.
Yeast
2pkg — WHC Lab Saturated
For my New England-style IPAs, this yeast has quickly become one of my favorites. It ferments quickly, produces nice, fruity esters with additional glycerol while letting the hops shine. Of course, feel free to use your favorite hazy IPA yeast. Preferably one that promotes biotransformation.
Fermentation
Primary — 66 °F / 19 ºC — 4 days
Diacetyl Rest — 70 °F / 21 ºC — 2 days
Soft Crash — 50 °F / 10 ºC — 2 days (dump as much yeast as possible)
Dry Hop — 50 °F / 10 ºC — 1-2 days (rouse the hops every 12 hours)
Cold Crash — 39 °F / 4 ºC — 2-3 days
Conditioning –– 39 ºF / 4 ºC – 7


By Matt, Brouwerij Zoetwater
Check out some other great content!

CellarScience Instant Water: Simplifying One of Brewing’s Most Confusing Starting Points
Water chemistry is one of those things almost every homebrewer eventually gets told they need to learn. So you start reading about it, and before long you’re staring at water reports, sulfate and chloride ratios, mash pH targets, and calculators that make your head spin. At least that was my experience. Brewfather has helped a…

Opening Day: A Classic Kölsch Built For Hot Afternoons by Grounders Brewing
Opening Day — German KölschThis beer might be a little late for Opening Day, but its clean, crisp finish makes it great for any occasion. MCM Bavarian Pilsner malt is the backbone of this recipe, and is quickly becoming one of my favorite malts for lager-style beers. For this batch I also tried a new…

Why SafLager S-23 Deserves More Respect + A Recipe!
When it comes to dry lager yeast, most homebrewers immediately reach for one strain: W 34/70. It has become the gold standard for clean, crisp, reliable lager fermentation. Because of that, another strain from Fermentis often gets pushed to the side entirely: SafLager S-23. When I talk to other homebrewers about S-23, the response is…
Leave a Reply